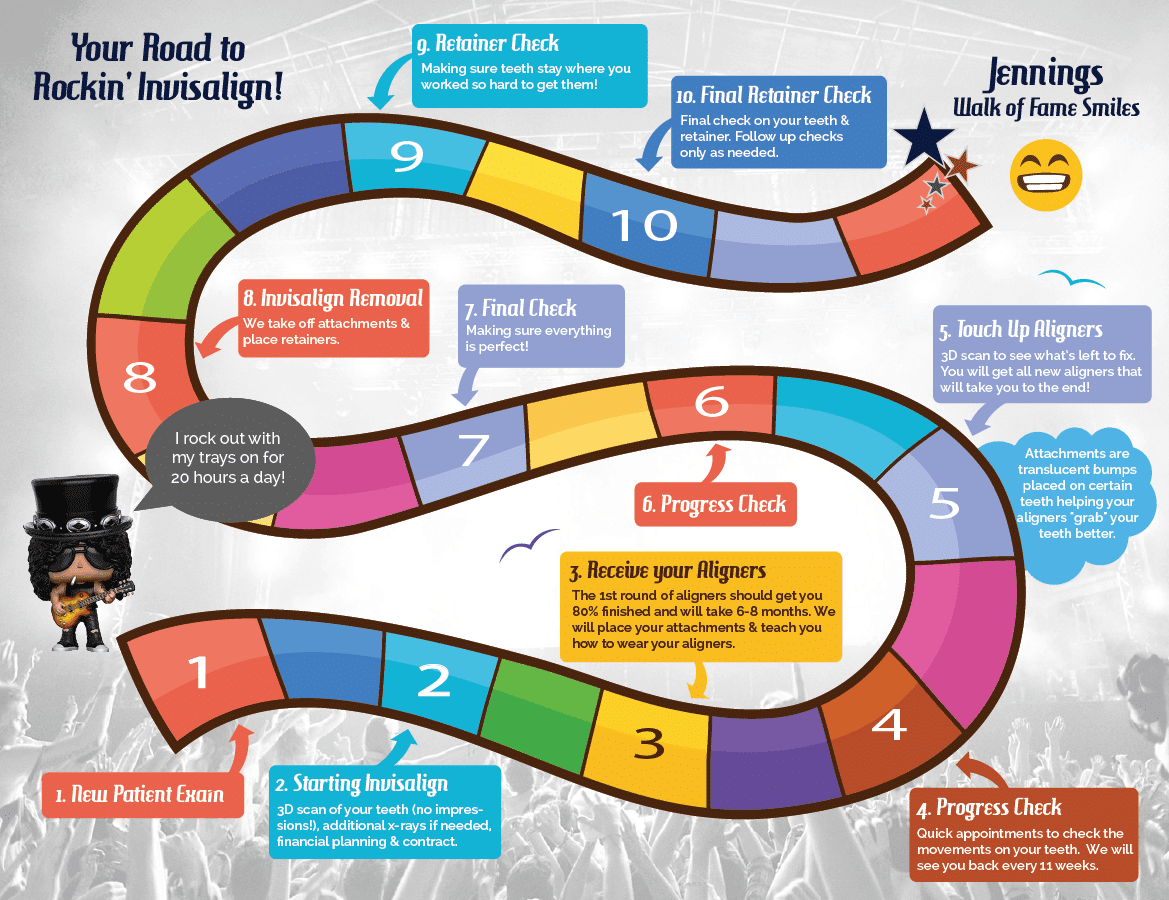
At Jennings Orthodontics, we believe that you can achieve a great smile with Invisalign while having fun. We often get asked about the steps involved in the Invisalign treatment, so we’ve made a cool graphic that goes through every step, from your first appointment to your walk of fame smile!
Step 1) New Patient Exam – This is a no cost examination to determine if you need Invisalign.
Step 2) Starting Invisalign – 3D scan of your teeth (no impressions!), additional x-rays if needed, financial planning & contract.
Step 3) Receive your Aligners – The 1st round of aligners should get you 80% finished and will take 6-8 months. We will place your attachments & teach you how to wear your aligners.
Step 4) Progress Check – Quick appointments to check the movements on your teeth. We will see you back every 11 weeks.
Step 5) Touch Up Aligners – 3D scan to see what’s left to fix. You will get all new aligners that will take you to the end!
Step 6) Progress Check
Step 7) Final Check – Making sure everything is perfect!
Step 8) Invisalign Removal – We take off attachments & place retainers.
Step 9) Retainer Check – Making sure teeth stay where you worked so hard to get them!
Step 10) Final Retainer Check – Final check on your teeth and retainer. Followup checks only as needed.

